
Recognise when ordinary imaging is the wrong starting point
A drive that disconnects, slows sharply or reports repeated read errors needs a different plan from healthy media. Record its identity, connection, reported capacity and symptoms. SMART health information can help, but a favourable status does not cancel out errors seen during reading.
Avoid running repair utilities against the exhibit. If the drive clicks, has physical damage or repeatedly disappears, stop and consider a specialist recovery laboratory. Software cannot replace mechanical repair.
 View full size
Preserve what can still be read
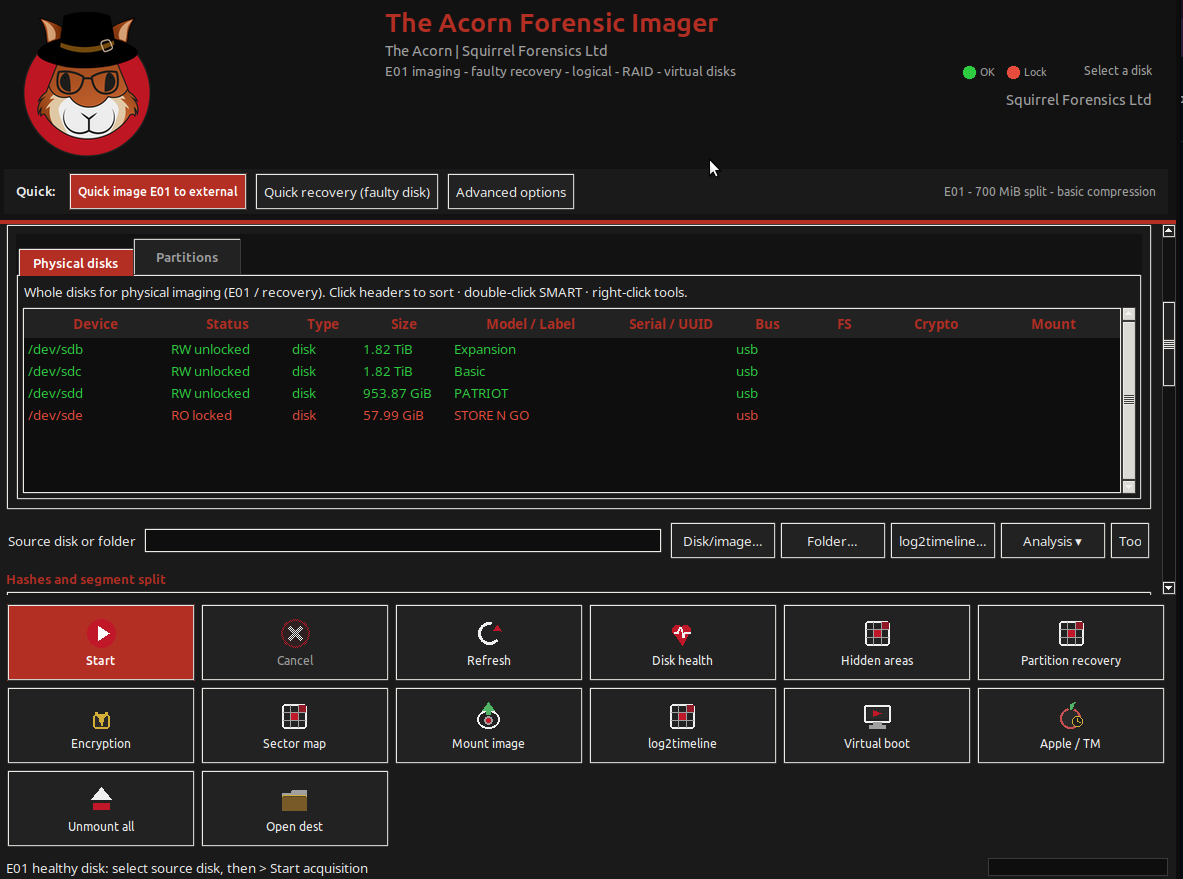
In The Acorn, identify and protect the source in Device Manager, then choose the resilient sector-imaging route in Forensic Imager. Use separate destination storage with enough capacity for the image, logs and recovery map. Readable-first passes reduce time spent repeatedly requesting the same difficult area.
The saved map records progress and problem areas. Keep it beside the matching output and use Live Disk Map to inspect the acquisition. Choose further retries deliberately, based on the remaining evidence need and the behaviour of the drive.
Report the recovery as well as the findings
Retain the drive-health information, connection details, settings, logs and final unreadable ranges. A hash identifies the output you produced; it does not prove that every original sector was available. Examine the resulting copy and explain whether missing areas affect a particular file or conclusion.
When evaluating equipment, bring a known test disk or representative image and agree what a successful acquisition should record. Ask to see the interruption, retry and handover stages, not just the initial setup screen.
What to check
- Source model, serial number, capacity and symptoms
- Separate destination and a retained recovery map
- Readable data, remaining gaps and output verification recorded
Common questions
Will this repair a mechanically damaged disk?
No. Fault-tolerant reading is not a clean-room service, head replacement or firmware repair. Stop if the device condition calls for specialist recovery.
Does a completed image mean all sectors were recovered?
Not necessarily. Review the acquisition log and map. A finished job can still have documented unreadable areas.
Explore the relevant Acorn apps
Put the workflow to the test
Discuss a faulty-disk imaging demonstration
Tell SQFR about the source types, task and equipment you need. We can discuss a focused demonstration and the configuration or quotation that fits. Do not send case evidence or credentials through the enquiry form.